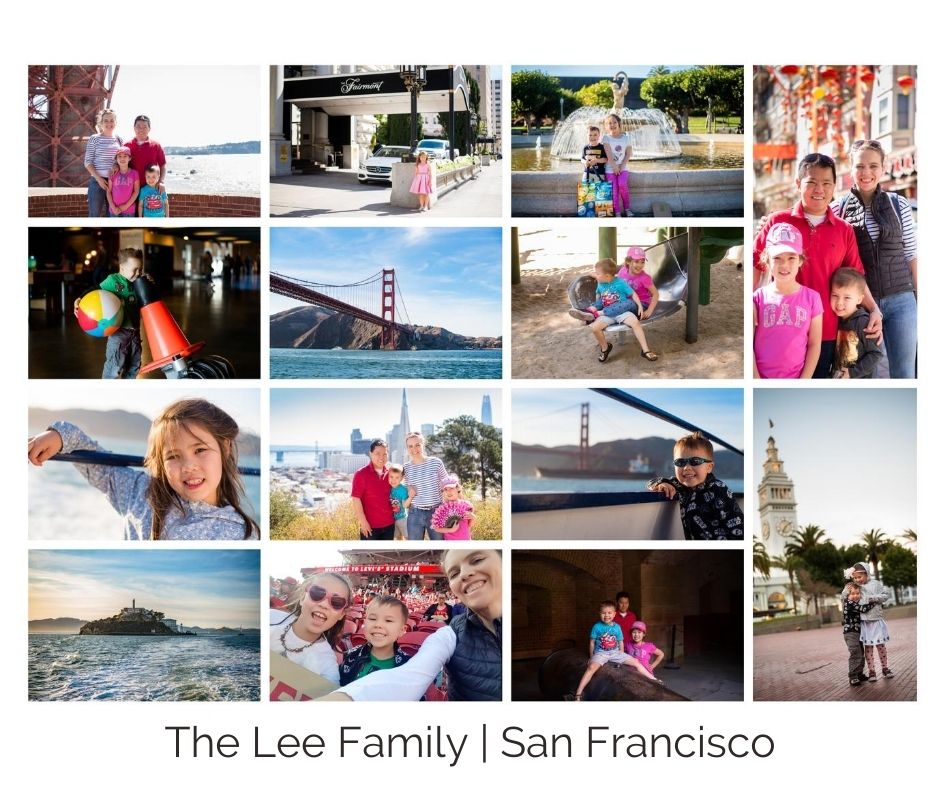
Almost everyone loves looking at photobooks. And I bet as the keeper of memories, your greatest wish is to have all your photos beautifully displayed in books that document the history of your family.
Easier said than done, I know.
It’s one thing to make a book that documents a recent trip. I find those get made pretty easily for various reasons. Two are that the photos are already all together because they are from just a short time span and you are excited to relive the memories. But even then, they sometimes fall by the wayside. What’s harder is those everyday memories. Or making a yearly photobook. Or a First Year photobook. The first hurdle is probably the state of your photo collection. Is it organised? Can you find all your photos from last year in one place? Do you know where your trip photos or your newborn photos are? If this is your issue, I have a solution to that. Click here.
So here are some of my tips:
1. Keep it Simple.
Above is an example of the cover of ALL our photobooks (except Birthday Books which are all the same too). Yes, I could be more creative but simplicity wins every time.
No matter how you like to make them – a photobook company website, Lightroom, In Design, Blurb – pick only a few variations.
- 1 size for each type of book (travel, year, milestone)
- 1 or 2 designs for each type of book
- 4 to 5 layouts – full page, one photo, 2 photos, 3 photos, multi-photo collage (6 or 9 photos)
- 2 to 3 fonts – one for the cover, one for captions and one for fun text
- 2 to 3 colours
- 1 cover design for each type of book
I suggest writing down the names of fonts, designs and sizes so you have them in case you need them.
2. Keep it Organised.
Create Albums or Collections for your photos. You can do this on your computer or on the photobook company website. If you are creating a Yearly photobook, make an album on your phone or computer and add your favourite photos to that album throughout the year. When the year ends, you will already have done the culling which to me is the hardest part. You can then just upload those photos to your favourite bookmaking website.
3. Keep it Standard.
- Create a new project
- Pick a design layout
- Add 50 or so pages to your design with various combinations of page layouts
- Save this project as a template (ie MY TEMPLATE)
- Do this for each type of book you make through out the year (travel, birthdays, yearly books etc)
When when you go to make a new book
- Open the MY TEMPLATE project
- Resave it as your new book name (Jack’s 3rd Birthday)
- Upload your photos
- Insert your photos in the pre-layed out pages
- Add text
- Order!
And viola! A new book is made.
Keep it simple.
Hope this helps. And if you are interested in how to make this even easier, check out my workshop: The Memory Curator: Digital Photo Organising for Busy Mums.
