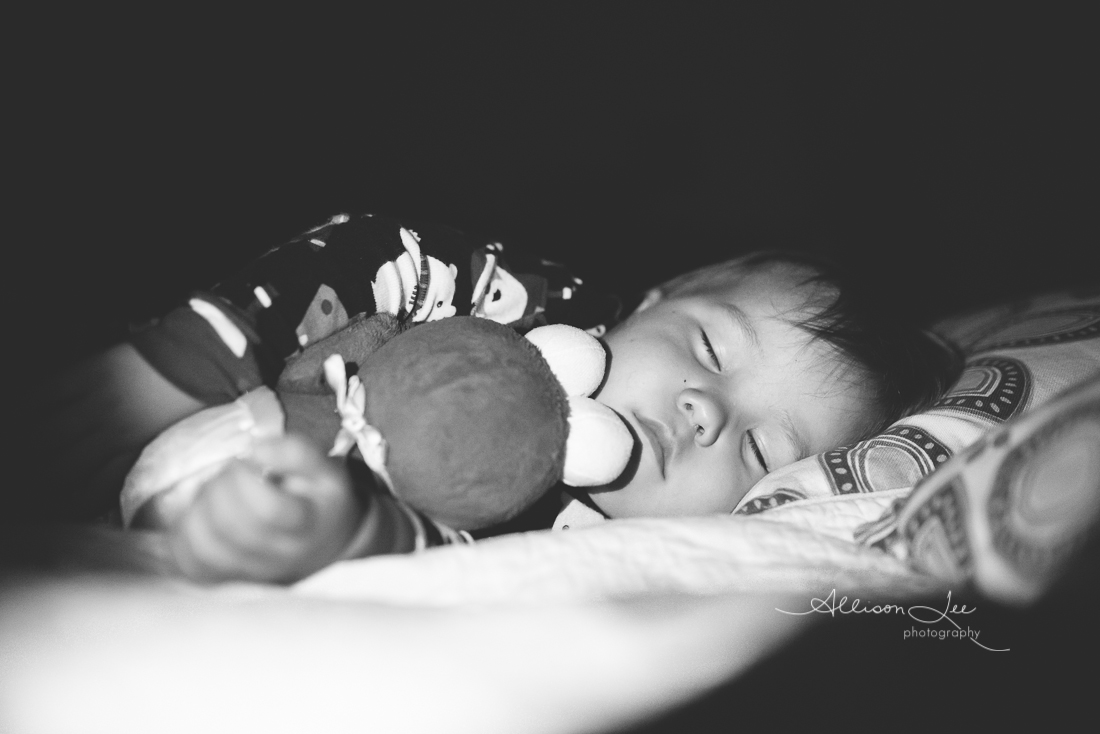
How often have you checked on your kids after they are asleep and taken a few minutes just to breathe in how peaceful, sweet and angelic they look in the midst of slumber? No matter what kind of day it has been, I never cease to drink in those quiet few moments – amazed in how much love can be summoned by the sweet sight. Of course it became a mission to capture that moment so I could relive it whenever I felt overwhelmed or stressed by parenthood!
The first challenge was how to do it without waking them up! I was terrified of waking my child especially if bedtime had been a longer transition that I liked. But done the right way at the right time they won’t even stir. The second was having enough light to create an image worth keeping. That took a bit of trial and error but eventually I sorted it out. Here are five tips that address those two challenges plus a few more so you too can give it a try –
Tip #1 – Photograph them within the first 30 minutes of sleep
Children are sound sleepers but sometimes even the click of a shutter can wake them up. If I take my photographs right after they have fallen asleep, I am pretty much guarateed they will stay asleep. I can shine a light, use my flash, and click my shutter to my heart’s content and they will keep on snoozing.
Tip #2 – Use an alternative light source
Cameras need light and in a dark room you’ll need to use some sort of light source to create a decent image. It is best to use a portable source like a mobile phone, ipad, laptop or a torch. You can capture a great image just using the light from any of these sources. Just keep in mind that a small light source (like a phone or a torch) will create a small amount of light whereas a laptop screen will create a bigger softer pool of light. Of these, my favourite is the ipad. I find that it is just the right weight and size to produce enough light to illuminate my kids faces at the right distance. I like to use an app for creating the light called Softbox Pro which gives you a blank screen where you can control the brightness. You can change the color temperature (or the color of the light) as well but more often than not I stick with white. Alternatively, you can control the brightness of your screen through the settings on your device. The benefit of the Softbox app is that the screen is blank and you don’t have to worry about it going to sleep or changing color.
Tip #3 – Expose for the features you want to capture
Using an alternative light source won’t give you enough light to capture all of your child in beautiful light. You’ll need to choose whether you want to capture your child’s sweet face, piggy toes, messy hair etc. If you shoot in manual, then expose (meter) for the feature you want to capture. The rest of the scene will drop quickly off into shadow. Most of my night sleeping photos start with settings around ISO 5000 f/2 SS 1/100. Just plug those in and give it a go! If you don’t shoot in manual or use a point and shoot, most cameras will still let you “spot meter” so that you tell your camera what part of scene you want to be in the best light. Even my Samsung Galaxy phone has this feature so just consult your manual. You don’t want to use the flash on your camera or you’ll get that “flashy” look so be sure to turn that off.
Tip #4 – Try a few different angles
This can get a little tricky and take a bit of acrobatics, but try balancing your light source in a few different places to get the right angle and perspective. You might grab your spouse or partner to be the light source holder. Chances are they will think you are a little nuts until they see the results. Try placing the light source above your child, to the right or even at their feet. Just make sure that it is out of your picture frame.
Tip #5 – Photograph naps as well
While nighttime images are unique and fun to capture, don’t forget those sweet sleeping moments of naptime. The same tips apply except if the room is bright you won’t need an alternative light source. During the day, my favourite tip is #4 as you can be creative as your little one slumbers.
For inspiration, here are some of my personal favourites. Hope these tips were helpful. Happy snapping!





To receive more photography tips please follow me at www.facebook.com/AllisonLeePhotography
Contact me for more information or to book a session
